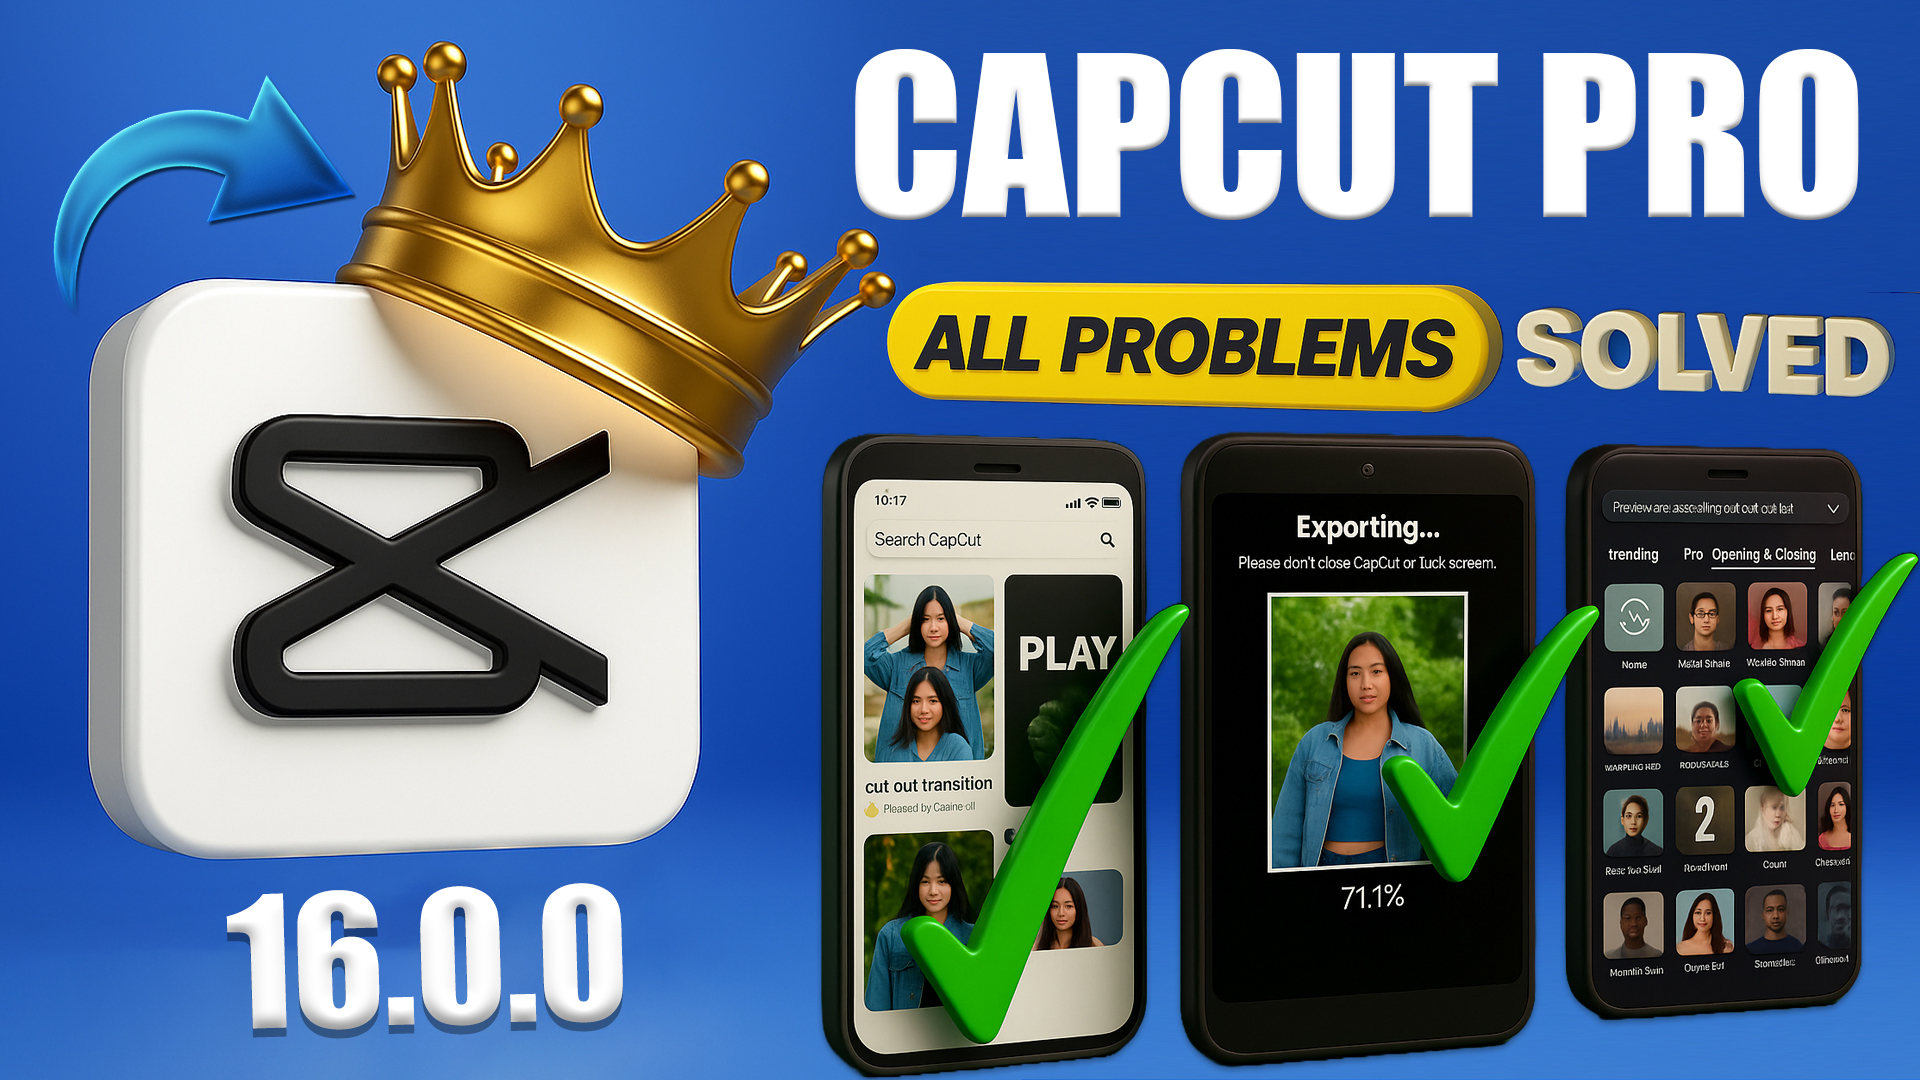
Beginner’s Guide to Video Editing with CapCut — Step by Step
Video editing used to feel like magic, available only to experienced editors. But with tools like CapCut, editing has become easier, more fun, and accessible to everyone — whether you’re on mobile or desktop. In this guide, we walk you through the entire process, from importing your footage to exporting your final video.
1. Setting Up Your Project
First, open the CapCut app (or use its web/desktop version). Choose “New Project” and import the video clips you want to edit. Once your clips are loaded, you’ll see them appear in the timeline workspace.
2. Understanding the Timeline
The timeline is your editing canvas. You can drag clips to reorder them, zoom in or out for precision, and arrange everything to flow well. Use zoom controls to get more detailed access to clip edges and transitions.
3. Trimming, Splitting & Deleting
- Trim: Cut off unwanted parts from the start or end of your clips by dragging the edges inward.
- Split: Break a clip into two pieces wherever you want, so you can remove or edit parts separately.
- Delete: Remove entire clips or unwanted sections with a tap or click.
Always preview the flow after trimming — sometimes what seems unnecessary in the moment affects the storytelling if removed. So trim carefully.
4. Enhancing Your Video
This is where your video comes alive:
- Transitions: Use smooth effects (like fade, dissolve, slide, glitch) between clips to avoid harsh cuts.
- Filters / Color Correction: Adjust brightness, contrast, saturation, and color tone to give your video a consistent, polished look.
- Speed Controls: Slow motion or fast forward can add dramatic or comedic effect — use wisely.
- Text / Captions: Add titles, subtitles or captions, customizing font, color, duration and animation. These help maintain viewer interest and clarity.
- Music & Sound Effects: Background music or effects can enhance mood. Be sure the voice or primary audio is clear and not overwhelmed by other sounds.
5. Preview & Final Checks
Before exporting, always watch your edited video from start to end. Check for smooth transitions, proper audio levels, correct timing, and whether text appears at the right moments. Also confirm the aspect ratio aligns with your intended upload platform (for example, 16:9 for YouTube, vertical for Reels/TikTok).
6. Exporting & Sharing
When you’re satisfied with your edit, click the Export option. Choose your video settings — resolution, frame rate, file format, etc. Then save it to your device, or directly share it to social platforms from CapCut if supported.
Tip: Make sure your video’s thumbnail (cover image), title, and first few seconds are striking — these help you get clicks and retain viewers.
7. Advanced Tips
If you want to level up your editing, try these:
- Don’t overuse effects — simple edits look more professional at first.
- Use consistent color grades if you’re creating a series so all your videos have a recognizable style.
- If parts are too long, split and shorten them rather than omitting entire sections — you maintain control without losing important content.
- Keep checking for new CapCut features — the app frequently updates with AI tools, new effects, and shortcut options.
- Always think of viewer experience: how your video starts (the “hook”), how fast it moves, how clear the story is, and whether it entertains or informs from the first few seconds onward.
Conclusion
Editing videos might feel tricky at first, but with tools like CapCut and a few practice sessions, you’ll find yourself creating clean, engaging videos in no time. Don’t be afraid to experiment, but always remember: story matters more than decoration. A well-told video wins more than flashy effects.
Your download is ready
Download will start in 20 seconds…
Note: Sometimes MediaFire might require a short redirect — if download doesn’t start, click the link above.